Grouping blocks
The Group block allows you to group several blocks into one. You can then open this group to find the detailed graph of all the blocks contained inside.
This system has two major advantages:
- Significantly simplify the readability of the graphs, by splitting your scenario into as many sections and sub-sections as necessary.
- Improving the performance of VTS Editor during the edition, as the number of blocks increases, the more resources are needed to process the graph.
For a good readability and a good organization of your projects, a graph should rarely exceed 50 visible blocks at the same level
(a Group block counts as 1 visible block).
Example
Let's say that we wish to group the five selected blocks of the following graph, to lighten the graph which contains them.
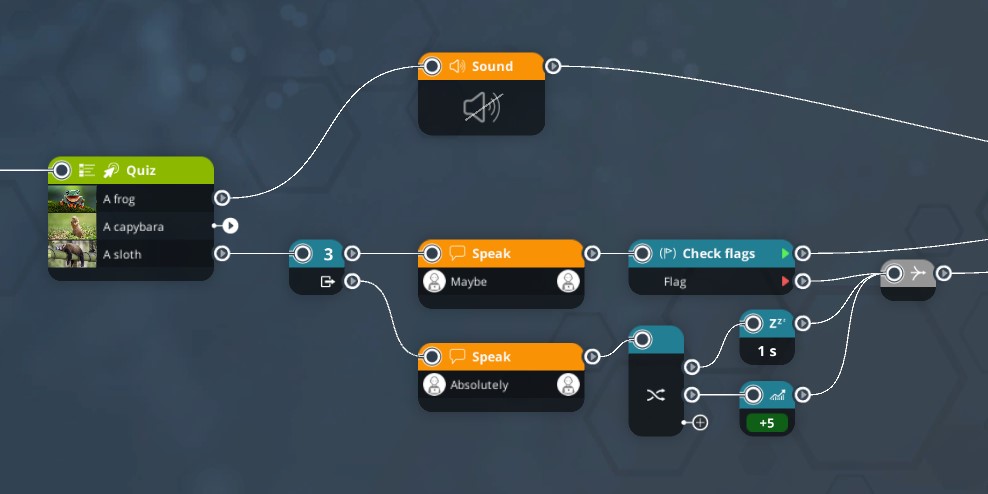
To group blocks, we first need to select them, which is already done in our case. The small tool bar below shows up on top left hand corner of the screen when several blocks are selected.

There are multiple ways to group selected blocks:
 |
Click on the "Group" button in the selection bar of the graph. |
 |
Click on the "Group" block in the blocks library. |
Use a keyboard shortcut: CTRL+G (for Windows) or CMD+G (for macOS).
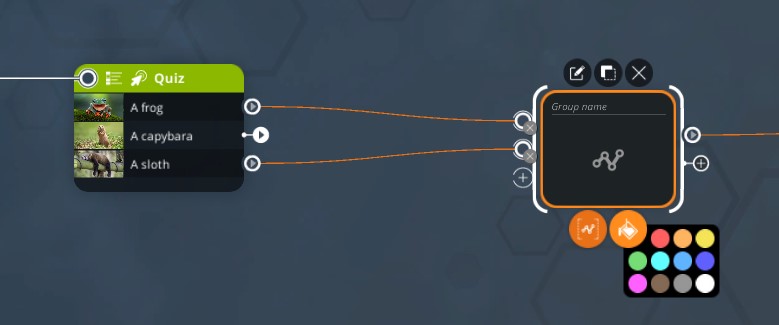
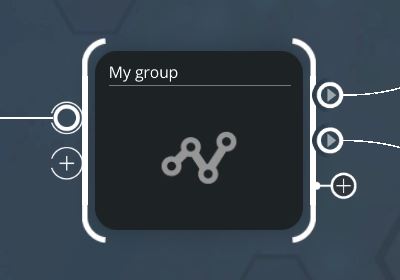
The new Group block will automatically keep the links as they are. Therefore, grouping blocks will not change anything to the scenario's behavior. You can assign a name and a color to the group to distinguish it from the other ones.
A Group block can be opened like a Scene block (with a double click or by clicking on the little edit button on top of it) to edit its content.
 |
Under any selected Group block, this button allows you to "Ungroup" a group. More precisely, this action will extract all the blocks contained in the group and recreate all the links on the same inputs and outputs. |
Once inside the group, this one appears in the breadcrumb trail, like any Scene or Scenario:

- ${ child.title }