Experience homepage
When you open a project, you first get on the Experience home page. This is where you will be able to configure the visual aspect of your Experience.
This is a preview of how the different elements will actually be displayed in VTS Player.
Click on the images to enlarge them.
 |
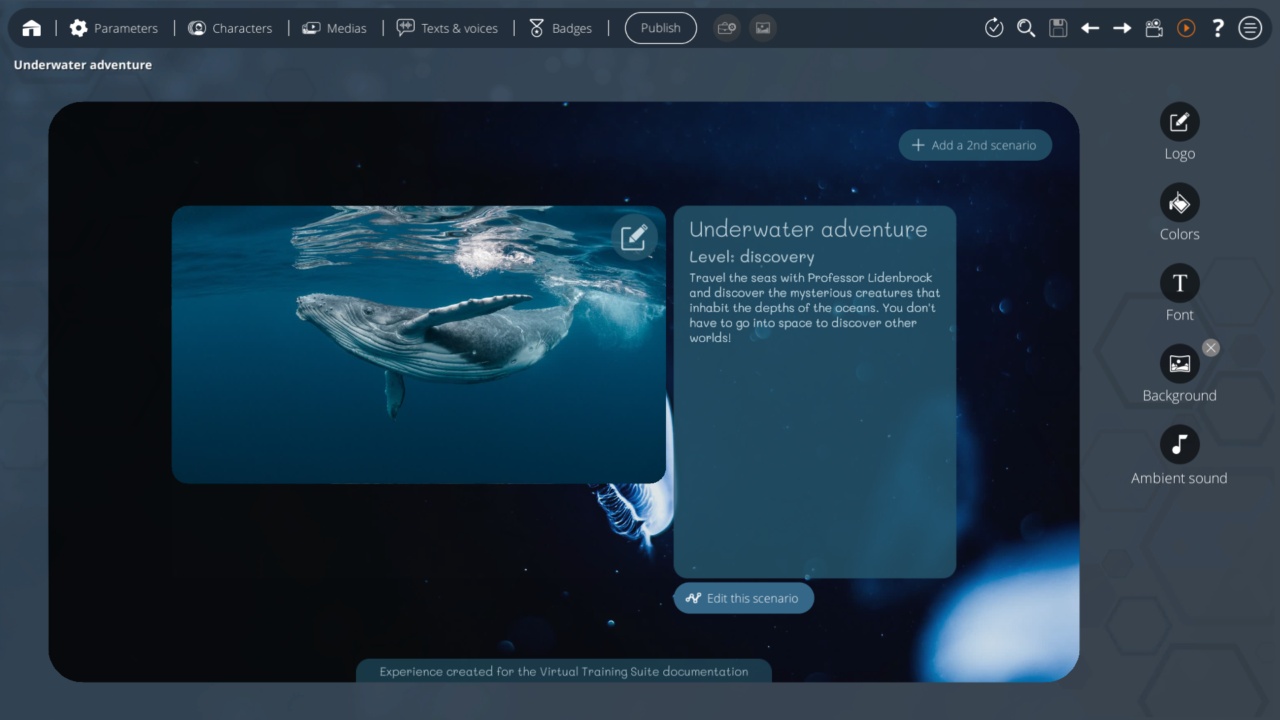 |
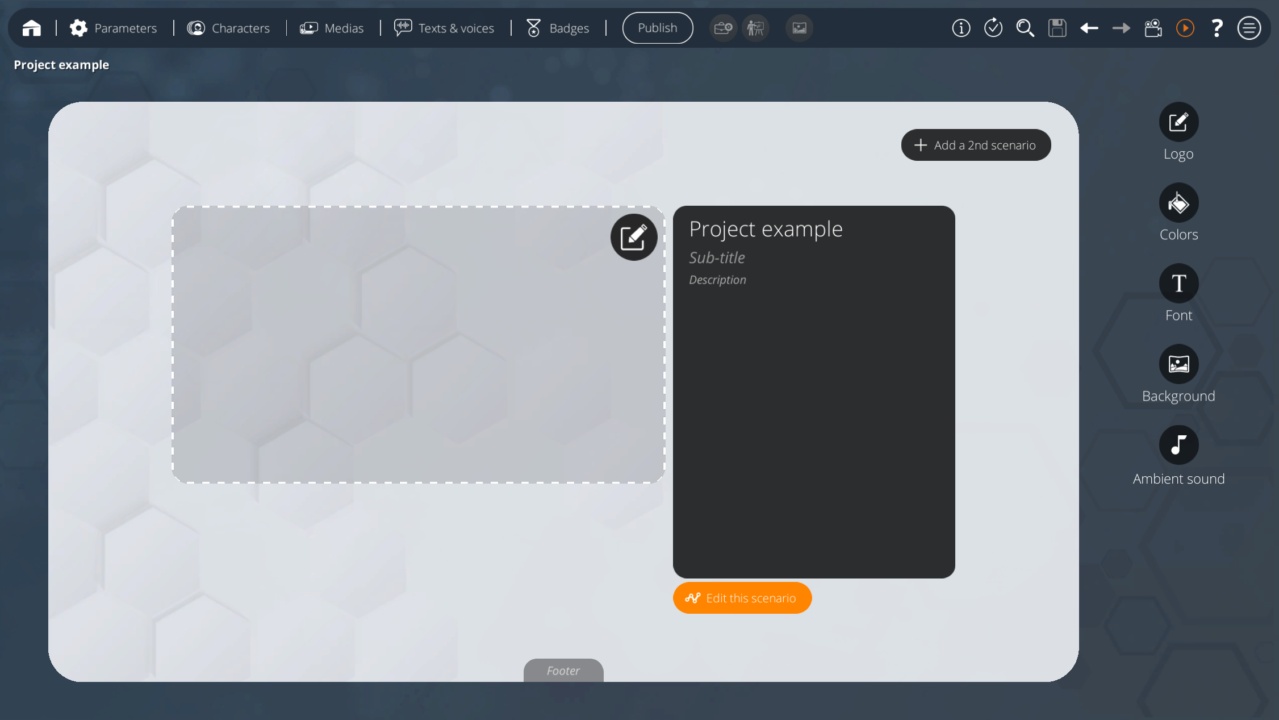
| The homepage at the first opening of a project in VTS Editor. | A fully customized home page. |
Visual and sound configuration
First, in the right column, 5 buttons allow you to edit the visual and sound properties of the main menu of your Experience.
Logo
A small image displayed above the name of the Experience.
Colors and Themes
To change the colors in your theme, click Colors. Four colors can be changed. When you click on one of them, a color picker opens to let you choose your color.
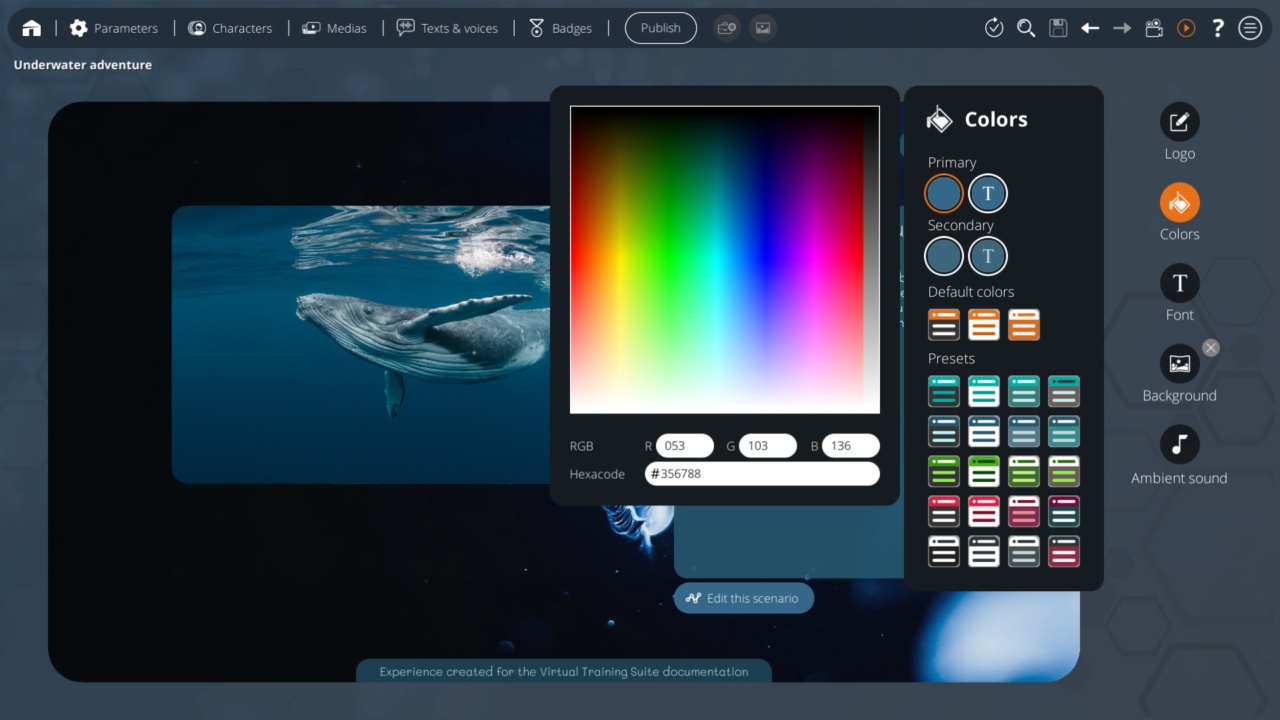
- The main colors affect the highlighted elements of your simulation: buttons, selected elements, etc.
- The secondary colors will be applied on all other backgrounds and texts in your simulation. The modifications are automatically applied on the preview.
Some presets allow you to rapidly get back to standard colors.
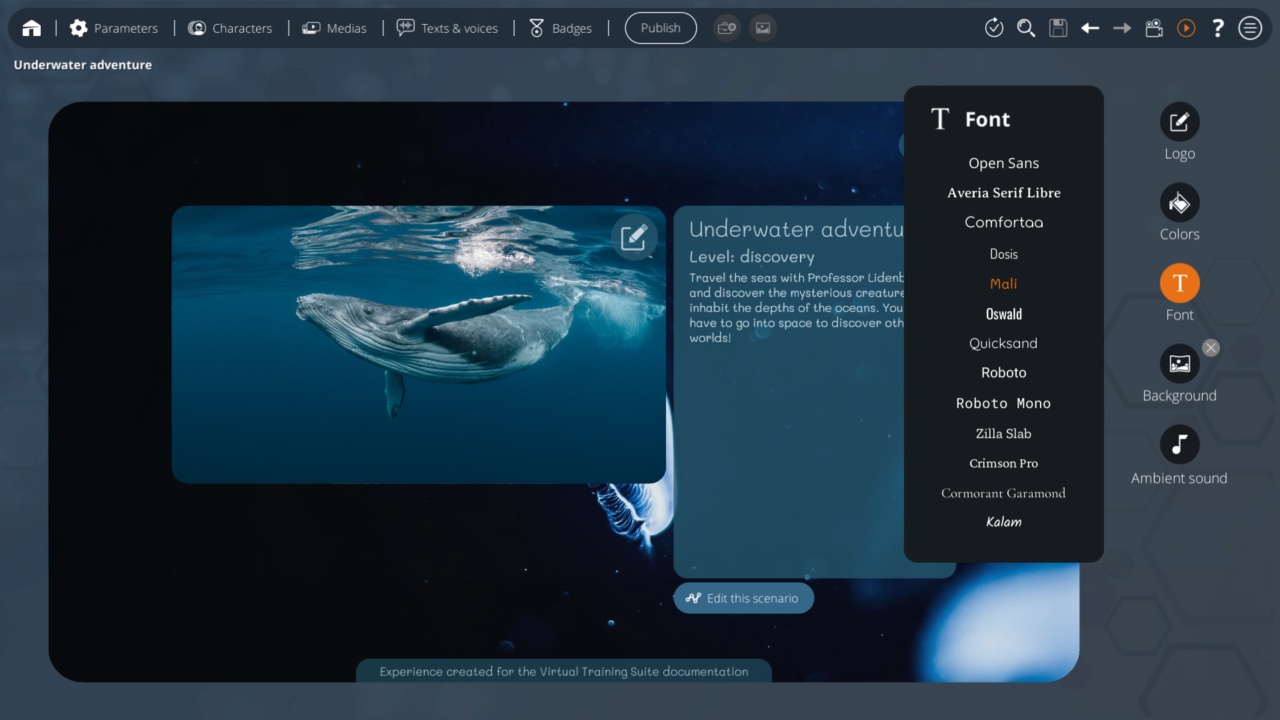
Font
Set the font for your Experience here.
Adapt your VTS Experiences to your style (classic, modern, sober, elegant, fun, raw, etc.) and immerse your learners in your universe. VTS Editor offers a choice of 12 new text fonts, which automatically apply to the entire Experience when played.
Background
The background image of the menu, which will use the whole size of the screen.
- The recommended format is 16:9
- Be sure to choose an image that does not contain too many details. This could affect the readability of the home menu. Prefer an image that is homogeneous, with a single color trend, or blurred.
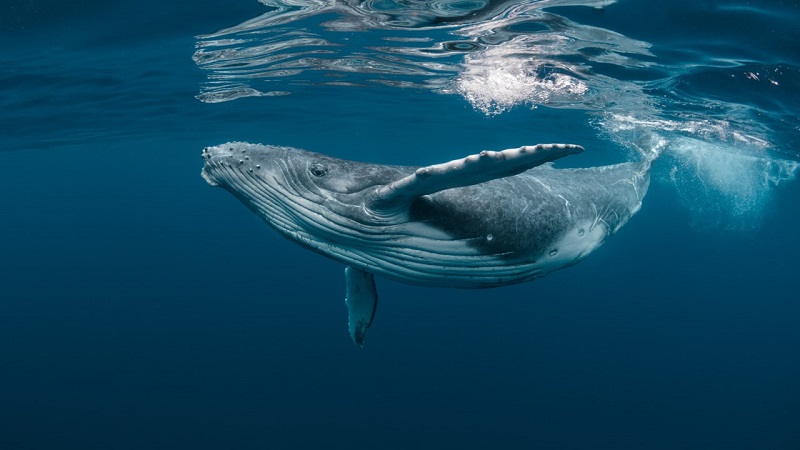
In the previous examples, the background is the following media:

Ambient Sound
The ambient sound of this menu. Some options are available when a sound is set, such as the loop mode or the volume.
Central display
Let's go to the middle part of the page.
Name of the Experience
This is the name of your VTS Editor project, but also the main title of this page, as it will be displayed to your learners.
- Limit yourself to a few words to avoid taking up too much space vertically in the display area.
- Example: Underwater Adventure
Sub-title
Define a secondary text here, written below the name of the Experience.
- Again, just a few words, so as not to take up too much space.
- If no sub-title is entered here, nothing will be displayed instead.
- Example: Level: discovery
Description
Write a short description of your VTS Experience.
- Be sure to limit yourself to a few lines so that learners do not have to use a scroll bar to read your entire description.
- Example : Travel the seas with Professor Lidenbrock and discover the mysterious creatures that inhabit the depths of the oceans. You don't have to go into space to discover other worlds!
Illustration image
Click on the edit button in the left area to modify the image.
- Here you can choose an image that is more detailed than the background, possibly providing additional information to the description.
- Make sure that your image fits well when displayed above background, as it will be displayed as a simple overlay, without containers or borders.
- The recommended aspect ratio is 16:9
- You can limit yourself to a resolution of 576x1024, as this image will never be displayed larger.
In the previous examples, the illustration image is the following media:
Footer
You can also edit the footer text.
For example, you can use it to display a copyright notice or a few words of general information about your Experience:

Edit the scenario
Just below the description is an "Edit this scenario" button.
This button allows you to enter the edition of the detailed flow of the Experience, and thus reach the Scenario Graph.

Much of this documentation explains in details the use of the graph:
Preview
When you configure the display of your home page, you can at any time preview the final rendering that will be visible to the learner.
This page is itself a preview, but VTS Editor allows to go further:
- Display the menu in full screen
- Remove all edition-related buttons
- Test the rendering on different platforms: PC, tablet, smartphone...
To access this preview, click on the orange "Launch" button at the top right of the window:

This takes you to the main menu of your Experience. Using the buttons at the top right, you can change the preview platform (PC, tablet, etc.), or end the test.
Une section dédiée existe concernant l'usage de ces outils liés à la prévisualisation de l'Expérience.
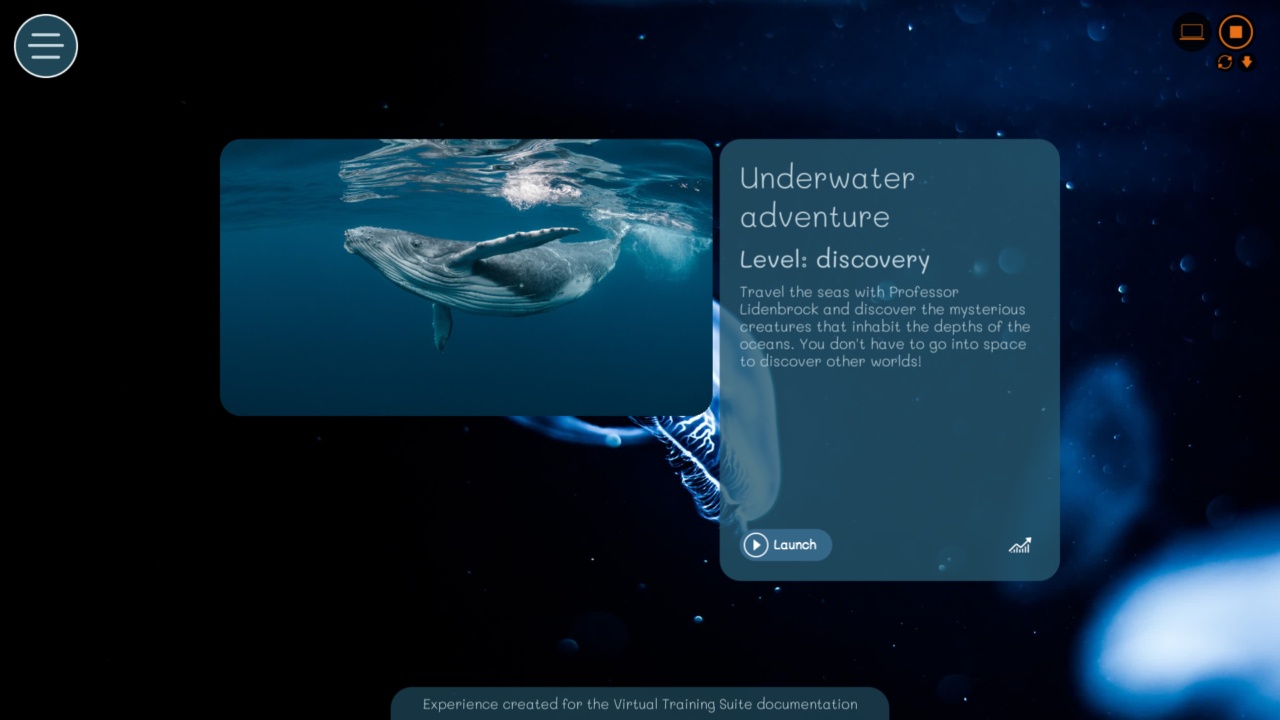
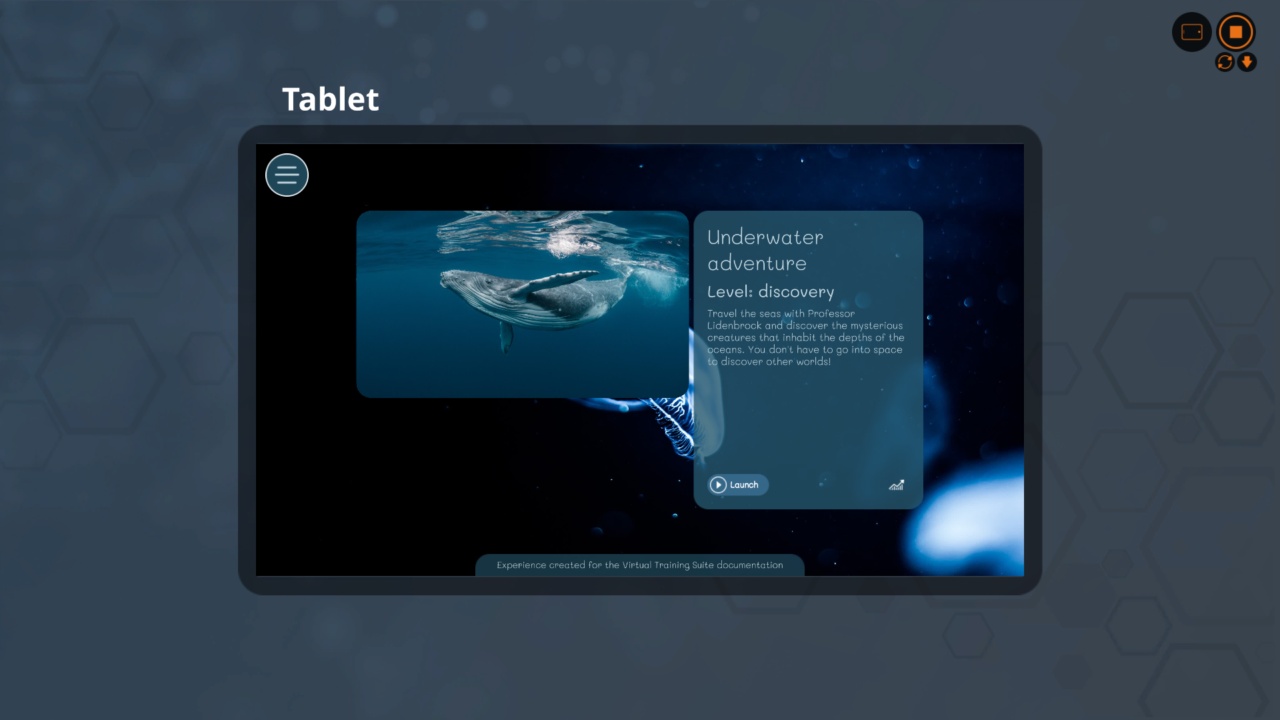
Let's see what the main menu gives in the case of the example project used in this page, for the 4 possible formats.
The menu automatically adjusts to display correctly on each platform.
Click on the images to enlarge them.
 |
 |
 |
 |
- ${ child.title }